

I was going to be in the woods for a few days, so thought it would be a good opportunity to make some beef jerky in a quick-and-easy smoker.
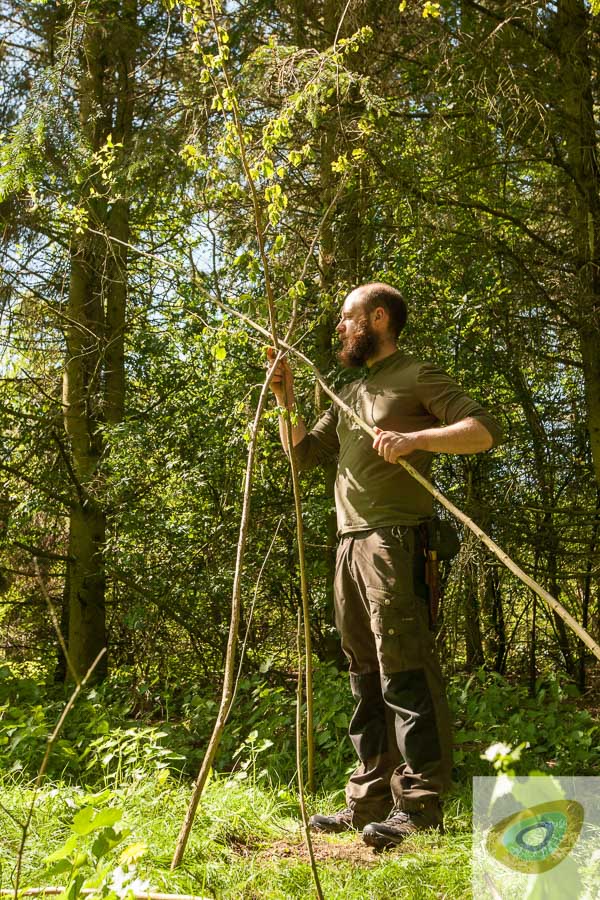
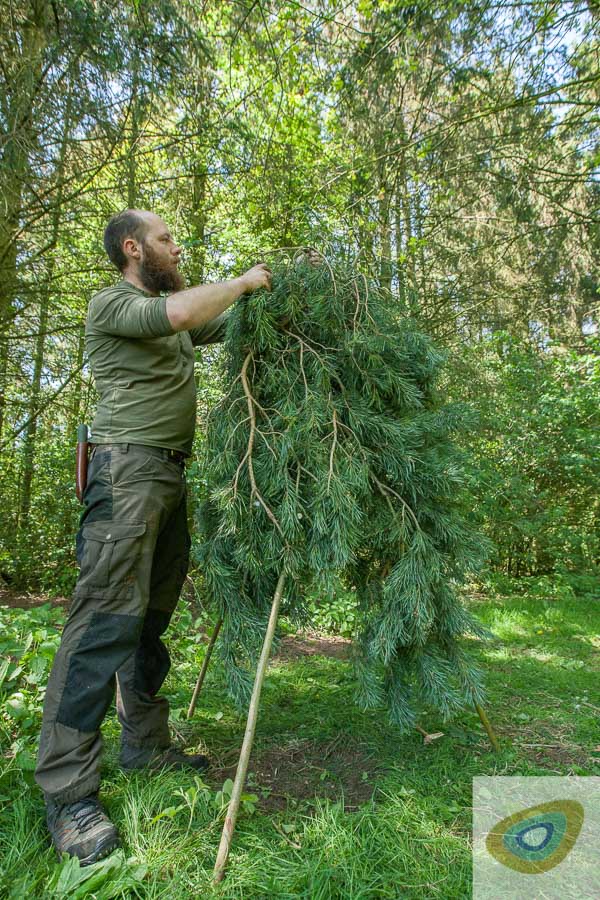
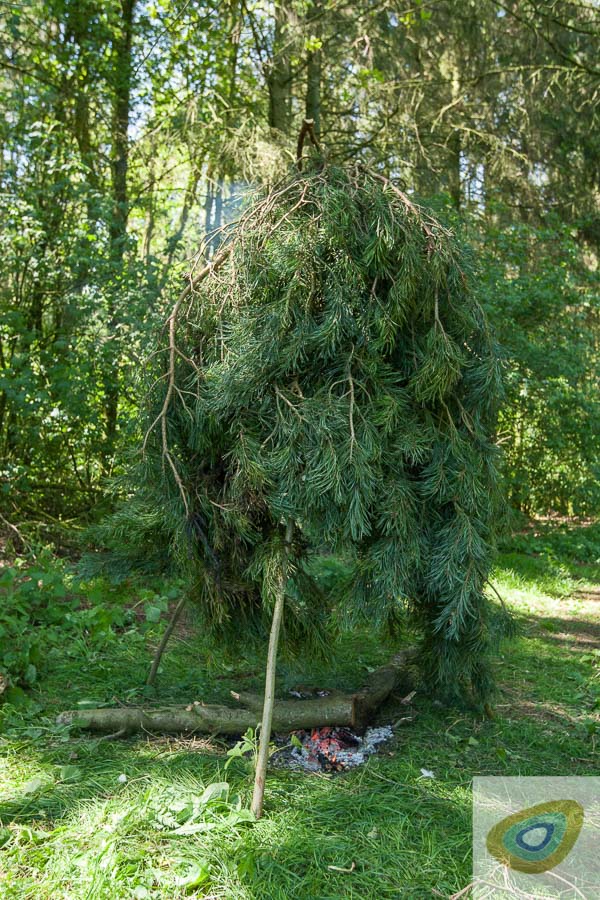
First, I made the smoker. It consisted of a basic tripod frame with a shelf. The structure was then covered with a thatching to keep some of the warm air and smoke around the meat.
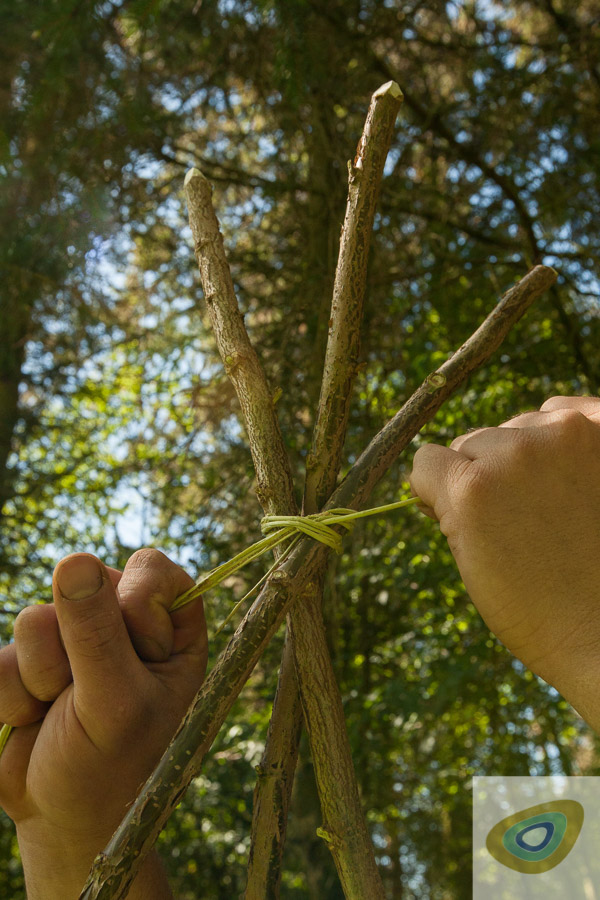
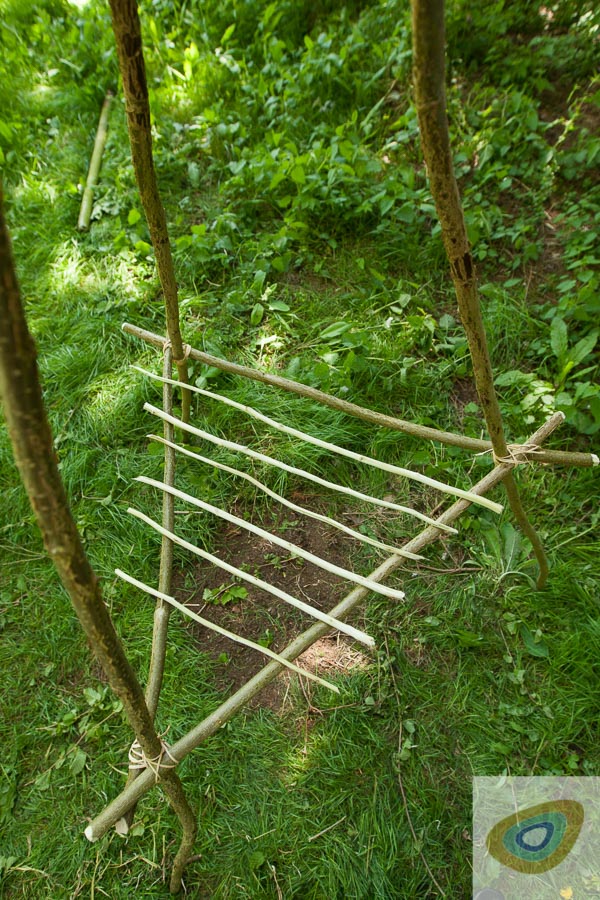
I used hazel for the tripod legs, which I lashed together with a hazel withy at one end ustilising a clove hitch. Once the legs were drawn out to a stable position, I could add a shelf to support the meat while it is being dried.
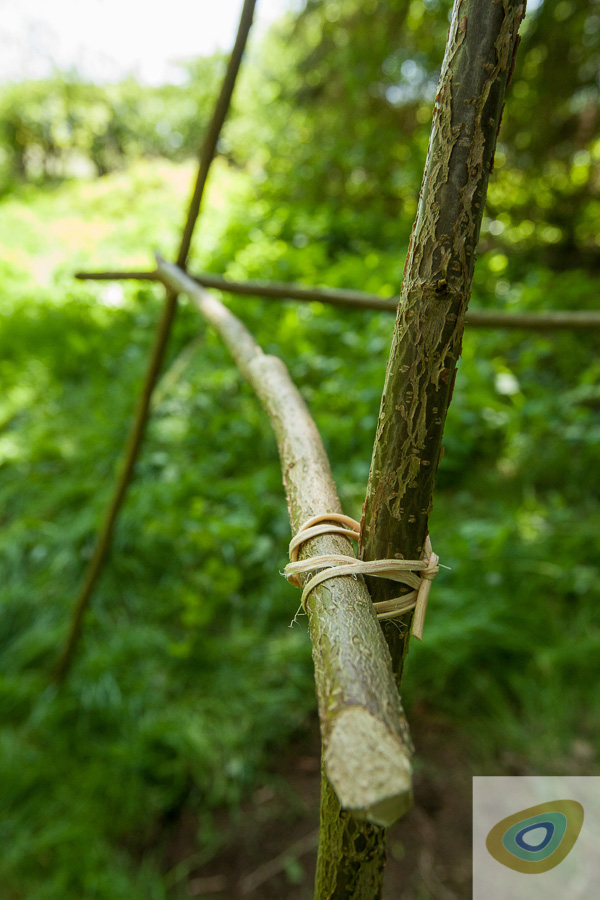
Lengths of hazel, finger thickness, were lashed to the legs creating a triangle. For the lashings I used spruce roots. I found a plentiful supply of these just under there surface of the ground. These were taken from and area where there are a good number of Norway spruce.
Once removed from the ground the spruce roots were easily processed, ready for use. I stripped the outer bark away and then split them along their length. This provides to lengths of binding for every root collected. As well as being efficient, this means you remove fewer roots and cause minimal disturbance to the trees.

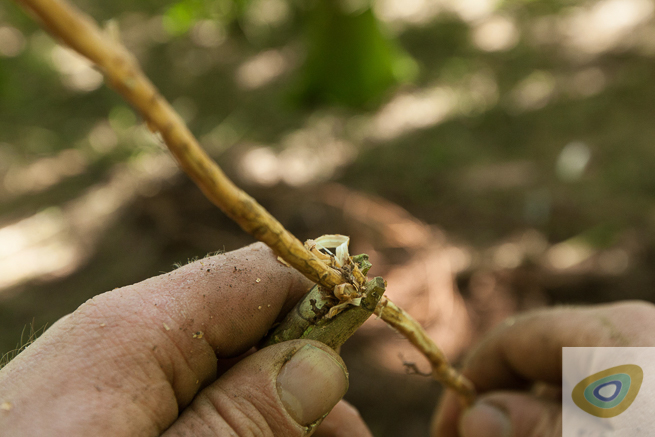

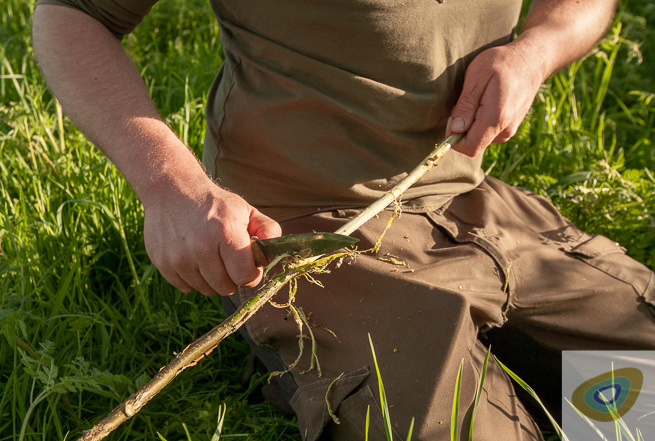
Next, I made the cross pieces to hang the meat from. Hazel was again used, little-finger thickness. This time I stripped off the bark so as to remove any potential bacteria that might come into contact with the meat.
If you are replicating this project, note that these lengths want to be slightly longer than the width of the shelf. Make several and ensure they can be sufficiently spaced apart, allowing for room between each to maximise airflow around the meat. Remove them and store somewhere clean while you complete the smoker.
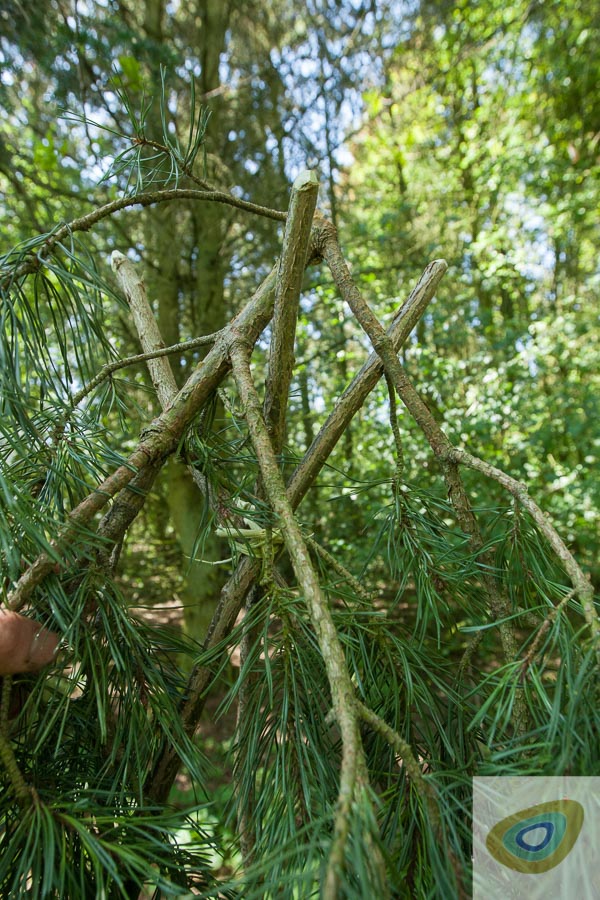
With the structural pieces all collected and prepared, I could thatch the frame. On this occasion I used boughs from a recently-fallen Scots pine. If you don’t have to cut down living plants or branches from a tree then don’t. Use what is available in your location. In the past I have used bracken, a plentyful resource in some areas. One time I even made the most of some branches from a pollarded poplar – light branches but with a dense cover of leaves, perfect for slowing down and retaining heat and smoke.
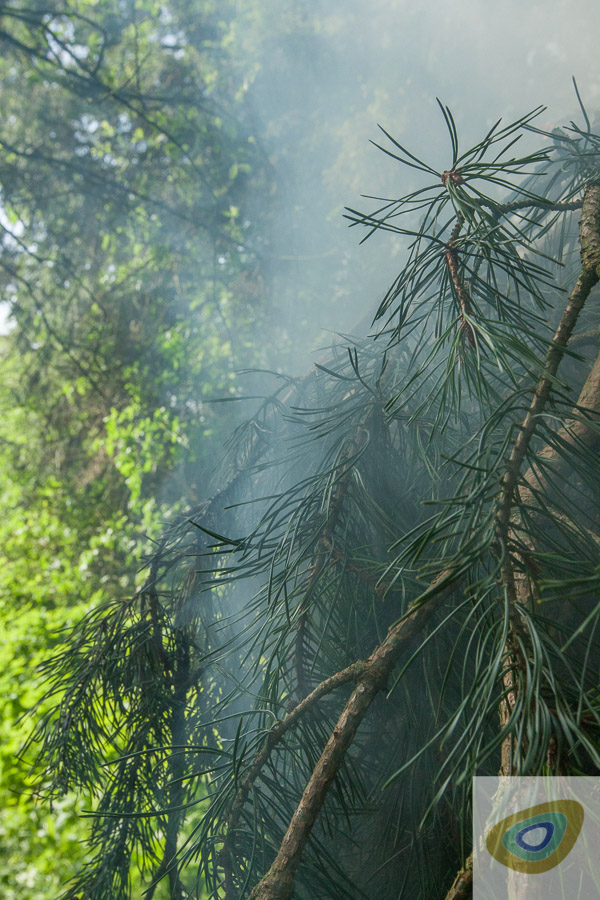
Once thatched, the smoker needs a fire to be lit underneath it. The aim is create smoke, which will of course add flavour but also has the practical effect of dissuading any flies or other insects from entering and landing on the meat. The warmth generated from the fire will help speed up the drying process. Remember, though, you’re not trying to cook the meat. Rather, it needs to dry.
For my fire in this instance, I used some plum and apple wood. Fruit woods create a pleasantly scented smoke that will impart a very delicate flavour to the meat. This process can take anywhere from a few hours to a few days depending on air flow and heat. Keep the fire ticking over but you don’t need lots of flames. Once the fire is settled you can bring the meat in.

It’s important to slice the beef as thinly as possible. The thicker the slice, the longer it will take to dry, and if it hasn’t dried properly, it won’t store for any duration. So thin is key. I used a silverside cut here but ideally you need as little fat running through the meat as possible. A fillet would be ideal but it will hit your wallet pretty hard.
Once sliced I like to rub in some salt, pepper and a little allspice. You can put all sorts of flavouring on the meat to suit your tastes. You can even marinate it for days in advance in any number of fancy concoctions. On this occasion, however, I wanted to keep things simple.


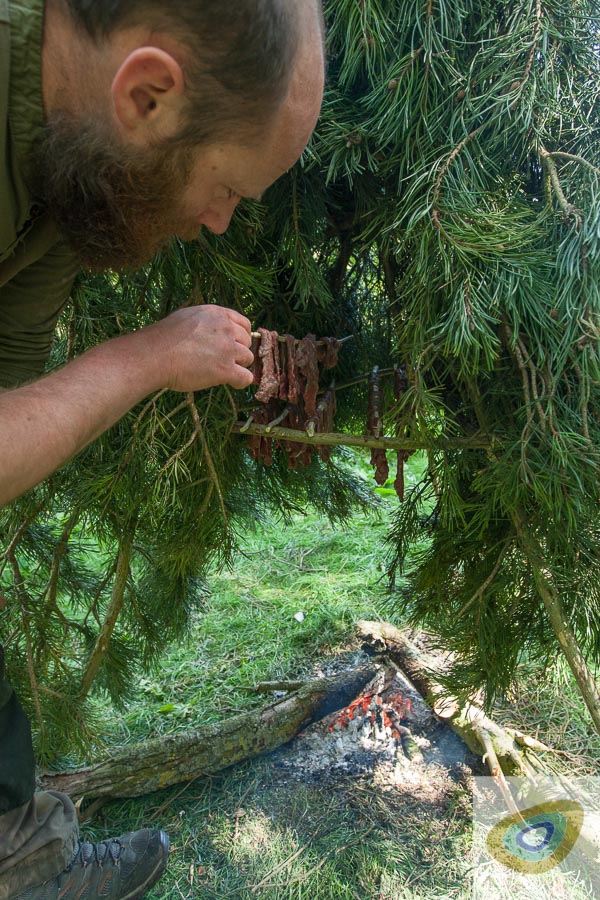
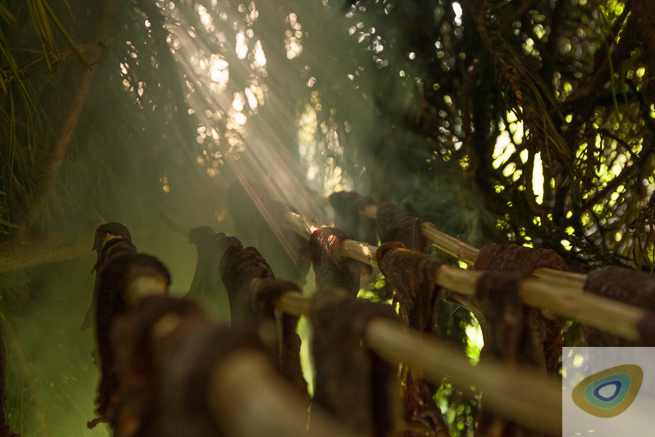
Once your meat is sliced and seasoned, drape the meat over the bark-free cross pieces and then carefully put these inside the smoker.
Keep checking on it over the duration of the day, the fire just needs to tick over but check on the progress of the meat.
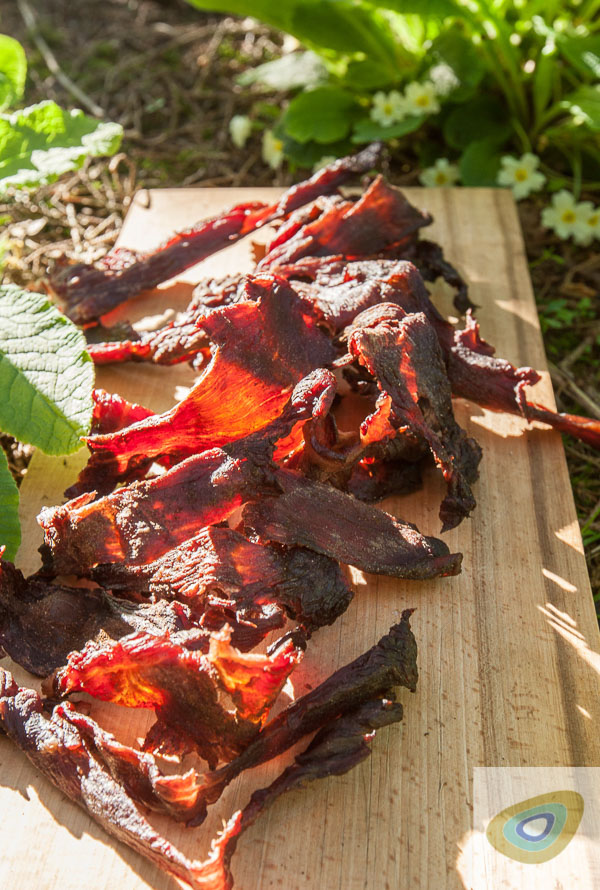
The meat is ready when it’s dry and similar in consistency and flexibility to a stiff leather. If in doubt, leave it for longer. If you dry the meat too much, the jerky will become very dry and very hard to chew. It can still be added to stews and reconstituted.


This is a fun project, which involves the use of campcraft, bindcraft and firecraft skills, applies your knowledge of natural materials and has a tasty end-product, which you can enjoy day-to-day, in camp or on hikes.
[Editor’s Note: In the context of moving your bushcraft skills from simple immediate survival to longer-term wilderness living, the ability to preserve food is an important area in which to be competent – PK.]Have you made a smoker or preserved meats in other ways? Let us, and other readers, know about your experiences in the comments below. And if you’ve never tried this before, let us know if you think you’ll give it a go….
Latest posts by Martin Tomlinson (see all)
- Bushcraft Beef Jerky In The Woods - April 29, 2020
- Martin’s Hare Curry Over The Campfire - March 12, 2019
Austin Lill
Nice simple setup. I must say that l like soy sauce, grated ginger, garlic powder and Chinese five spice. I look for white threads when l break it to check if it can be scoffed.
Nigel Gregory
Nice one Martin,
I guess that’s some of your home grown beef, it looks wonderful, will have to try and get in touch to try some when all this is over, I was on the forest hunter course with you and wondered what you did with the deer hides if it is possible for you to do a piece on that I am sure many people would be interested,
Hope you and your family are doing well,
Many thanks.
Nige.
michael masters
very simple and I would never have thought of that. I’m definitely going to try that. about how long does it take to dry the meat? does the fire have to stay up or just smolder?
Paul Kirtley
Hi Michael,
The exact time depends on ambient temperature, humidity and wind, as well as what type of wood you are using.
This process can take anywhere from a few hours to a few days depending on air flow and heat. Keep the fire ticking over but you don’t need lots of flames.
The aim is create smoke, which will of course add flavour but also has the practical effect of dissuading any flies or other insects from entering and landing on the meat. The warmth generated from the fire will help speed up the drying process.
Let us know how you get on with trying it out for yourself.
Warm regards,
Paul
Lydia Wright
I almost used bracken for a smoker the other day but then thought I may have heard it was carcinogenic?
Paul Kirtley
Hi Lydia, eating bracken (the fiddleheads in particular) has been linked to stomach cancer. Using bracken as the outer shell of your smoker will not be an issue. The bigger issue might be smoke. Smoking can introduce carcinogenic compounds to food and some research has suggested regular intake of smoked foods might increase the risk of intestinal tract cancers. For example – https://pubmed.ncbi.nlm.nih.gov/7447916/
Warm regards,
Paul