
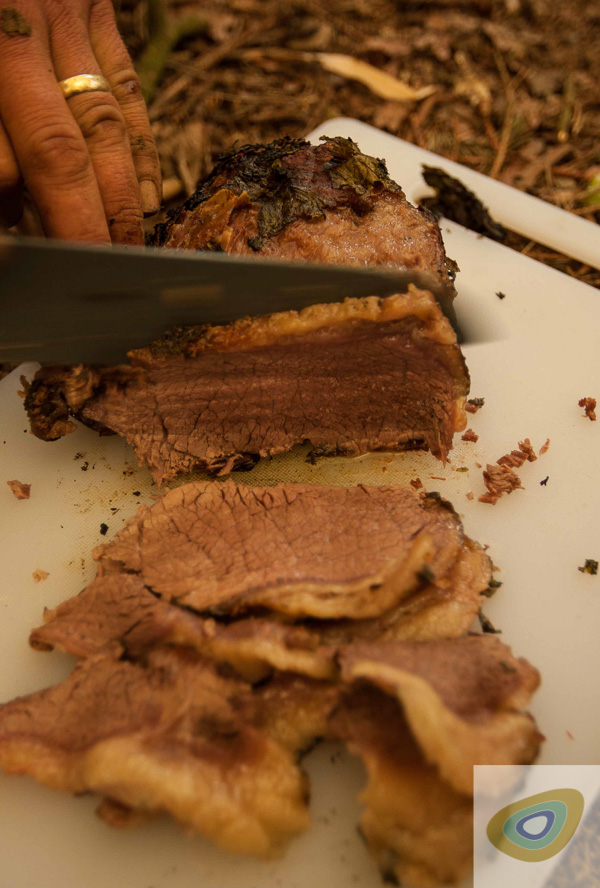
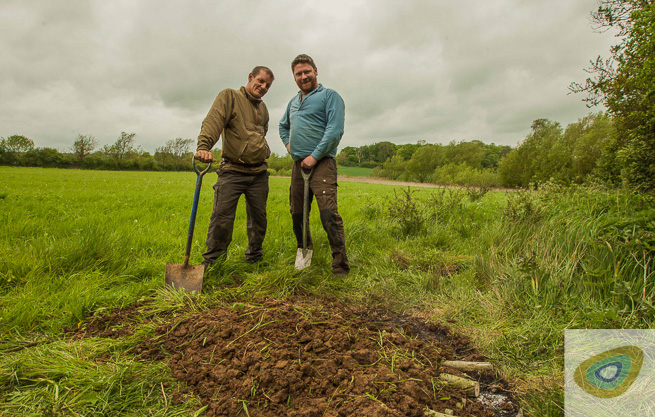
There is nothing better than spending time with friends out camping. When one of those friends brings a beautiful cut of Silverside Beef from his own stock for dinner, it seems only right to cook it in a special way. Of course, we could just put it in a Dutch oven and cook it in a more conventional way but the flavour you gain from cooking it in a pit oven really is something else. It is more time consuming, but so much more rewarding. Joining me for this culinary treat was Martin Tomlinson, who supplied the Beef, and Andrew Casey, who helped make the oven.
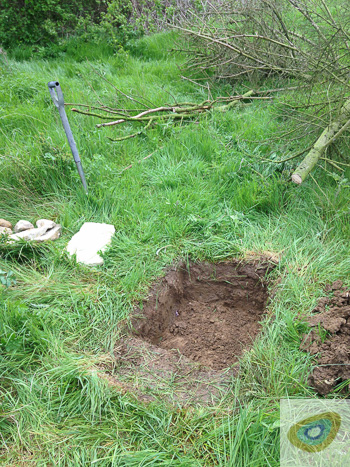
Preparing the oven
We dug a hole approx. 2ft x 3ft x 18ins deep. This allows enough room for a layer of stones at the bottom and around the sides leaving plenty of room for the food.
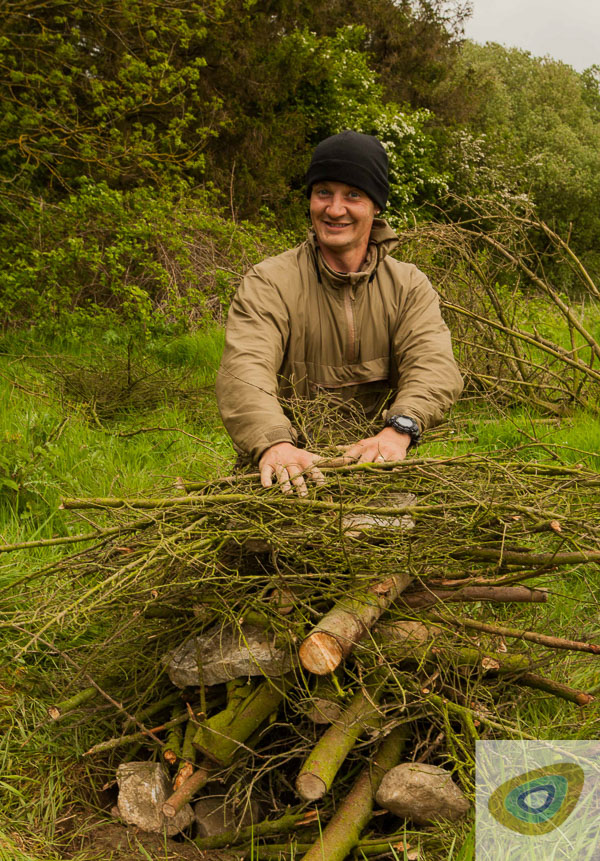
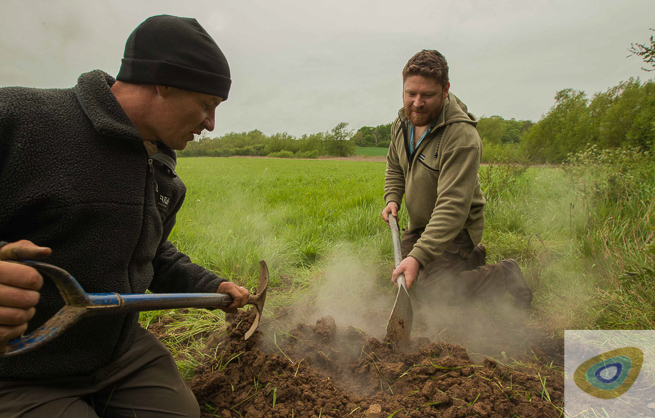
To get the rocks up to a good cooking temperature, (cherry red hot) We layered rocks in between branches of different sizes. Personally, I prefer to light the fire in the pit as I find the warmed ground helps the cooking process. Safety point: Avoid using flint or rocks that have been in water as when they get hot, they could explode.
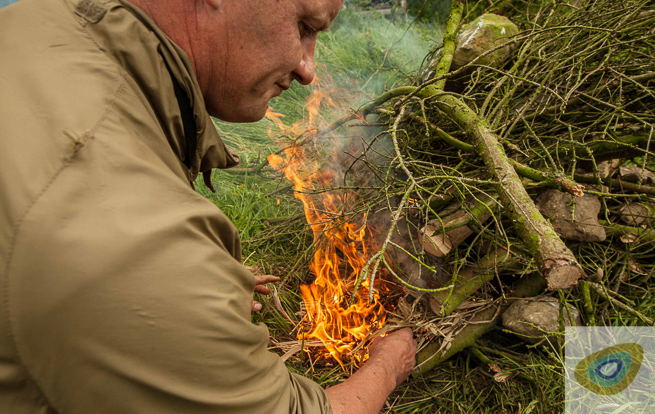
Starting the fire
We lit the fire using the bow drill method. I find the extra effort put in is reflected in the depth of flavour that comes out.
Safety point – Once we had the fire lit, we moved a safe distance away for at least half an hour, just in case any rocks exploded.


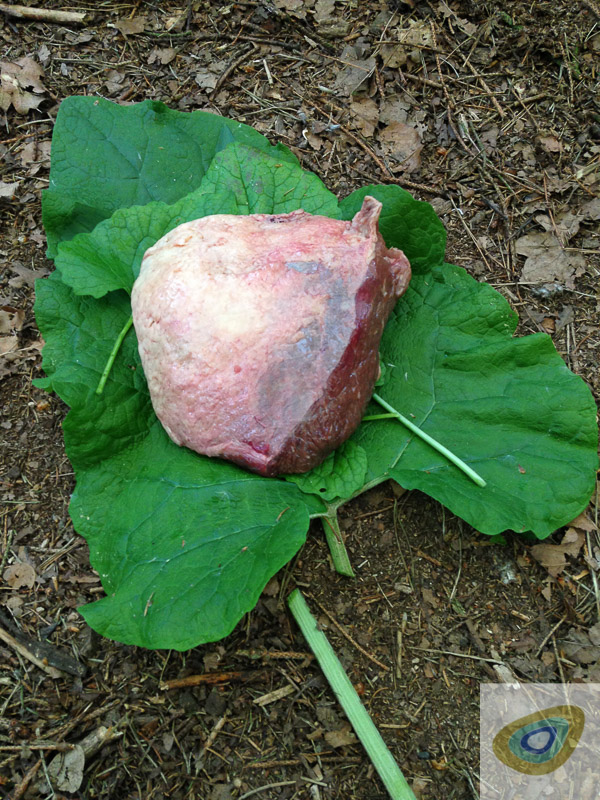
Preparing the meat
We used the time while the fire was burning to prepare the meat.
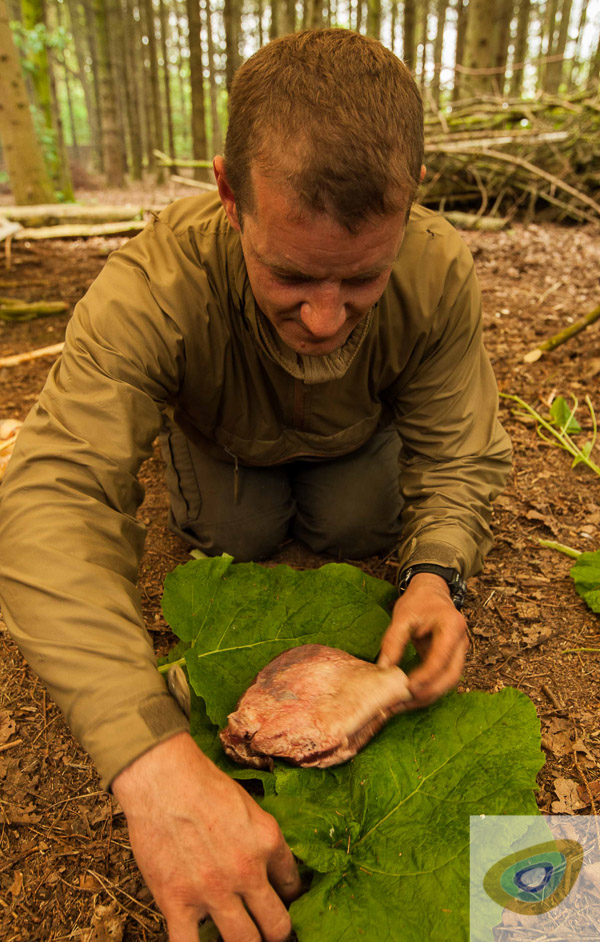
To protect the meat while it is cooking, we wrapped it in Burdock leaves and some Garlic mustard leaves which are food safe and then tied it all up with some Willow bark.

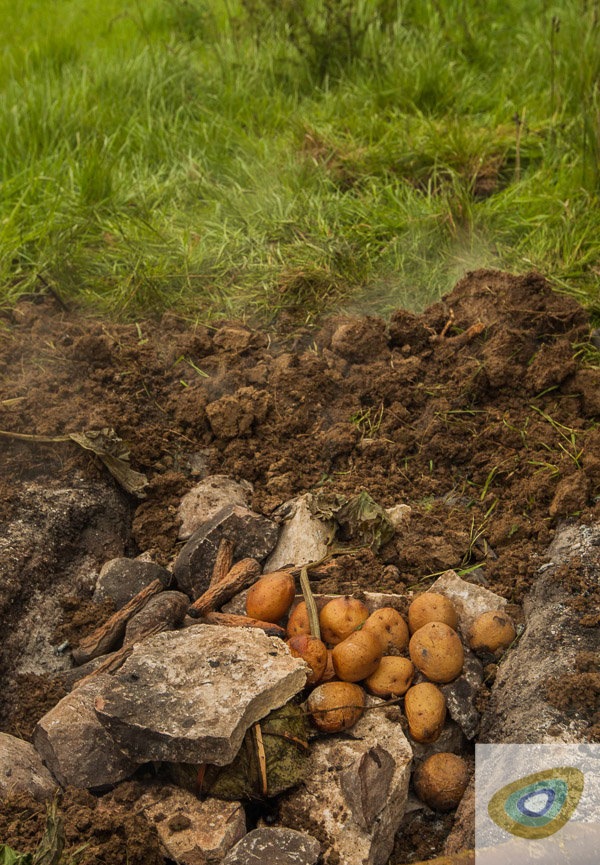
Once the fire had died down and the rocks were at the optimum temperature, we added the vegetables and the meat to the oven.
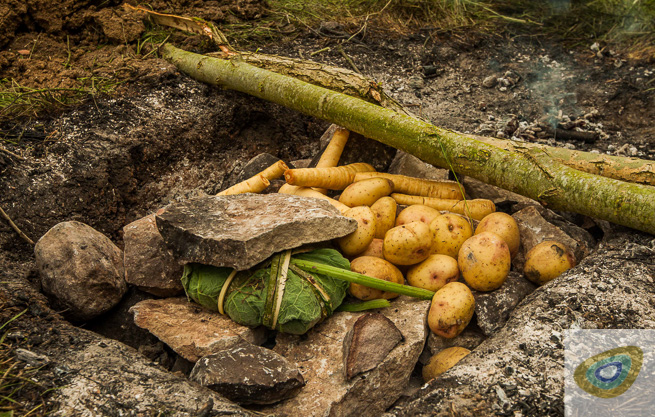
To seal the oven, we cut green branches and laid them across the top to make a lid. We then laid more Burdock leaves over that to stop any mud falling in. NB: Note the amount of rocks needed to effectively heat this size of oven.
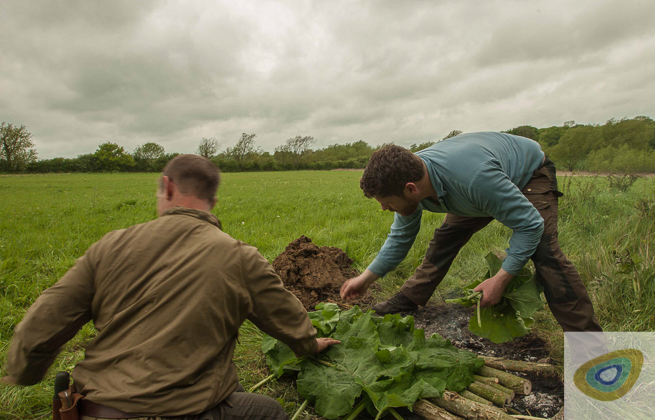
We then gently covered the whole thing in mud to seal in the heat.
Cooking time
We left it for about an hour and a half (minimum) Not so different from a conventional oven!
Caution should be used when uncovering the oven as you can see the steam in the above image. Also, do this carefully so no mud falls into the oven, spoiling the food. DO NOT USE YOUR HANDS.
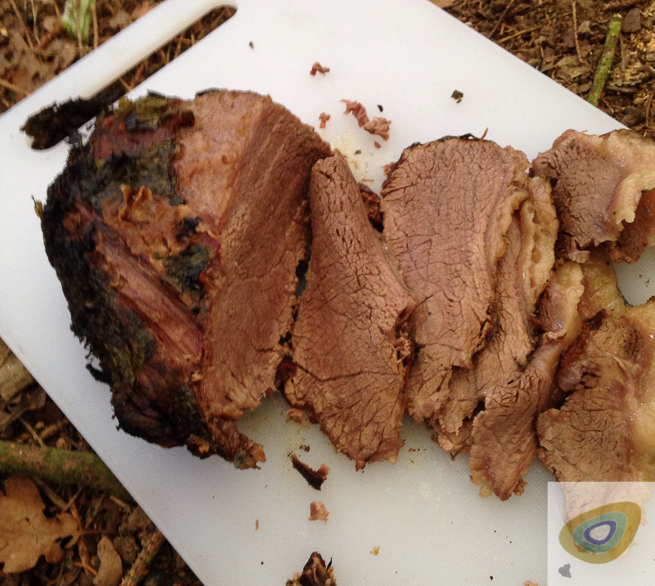
In my opinion, a pit oven is one of the best ways to cook a larger joint of meat. It certainly is one of my favourite methods. Why not try it sometime? Send us pictures so we can see how you did yours!
Paul Nicholls
Latest posts by Paul Nicholls (see all)
- Making Gypsy Flowers – An Exercise In Knife Skills - March 28, 2017
- Cooking Beef In A Pit Oven - March 7, 2017
- How I Carved A Knife In A Log - December 20, 2016
Dave Howard
Hi Paul, Andrew, Martin and last but by no means least, Spoons; WOW !! You guys did a cracking job. I love the theory that using more effort, lighting the fire with the bow-drill, added to the flavour of the meal. The meat was beautifully cooked, proving the point I like to make that just because you are living outdoors for a while does not mean you have to eat as if you are on a crash diet , (or on army MRE rations again). I love the way using the stones provided a long cooking time, I guess you could have made a fruit dessert too if it had been later in the year. Thanks for sharing your experience and expertise.
All the best to you all, Dave.